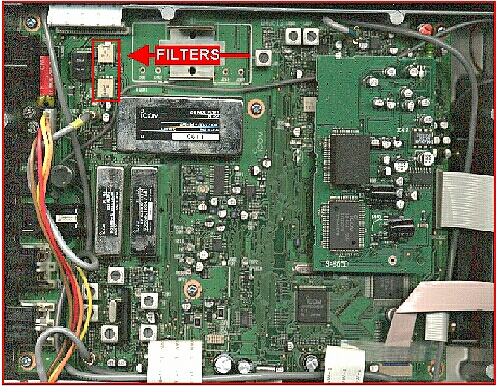
Remove bottom cover from 756.
View on the right is bottom view (radio front on the right)
Notice the RED square near the top-left.
This is where the 15 kHz and 9 kHz filters are
located.
Here is the above picture,
again the radio front is to the right.
This is zoomed to show detail near the filters.
You'll see the two light colored square objects.
Notice there are no delicate components nearby ;)
The lower one marked "G" is the
9 kHz.
The upper one marked "E" is the 15
kHz.
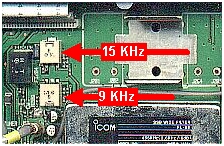
They are mounted upside down
from each other, unlike the IC-746.
Pull the top up from the board slightly.
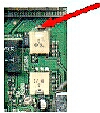
Apply your soldering iron to the left terminal,
Not for too long.
The left terminal should spring up away from the board.

Apply your soldering iron to the right terminal.
Not for too long.
The right terminal should spring up away from the board.

You now have most of the job done.
Apply your soldering iron to the center terminal. This is the ground terminal, more forgiving but not forever.
The filter should lift easily off the board.
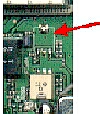 After removal of the 15
kHz filter.
After removal of the 15
kHz filter. Also remove the clip before installing new filter.
in soft keys on the 756 front panel.
Remember that the radio internal software
is dumb. The radio doesn't know that you
swapped out the 9 or 15 kHz filter.